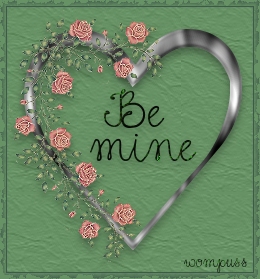
Now that we have our heart all decorated purty and stuff, let's add our text. Add a new raster layer. Use the text tool to add whatever greeting you like. I use BladePro presets on white text. Add your drop shadow to the text. Go back to your Layer 1 and flood fill with a solid color, gradient, or pattern of your choice. You can use your crop tool to crop the image at this time, if necessary. Use your color-picker tool to pick a lighter color and a darker color from your image. Right click to select the darker color. Left click to select the lighter color. Add a symmetrical 1 pixel border. Switch the colors on your color palette by clicking the two directional arrow. Add a symmetrical 6 pixel border. Click on your darker color and copy the color code to your clipboard. (highlight color code..."Ctrl"..."C") Apply the Xenofex stain filter. (image...plug in filters...xenofex...stain) Click the stain color box and paste your darker color code that you copied. ("Ctrl..."V") Use these settings: Edge width: 9 Follow wompie to see what you can make with your Valentine greetings following Dizzinz's notecard tut! |


