|

*Add a new raster layer. Name it
"Title."*
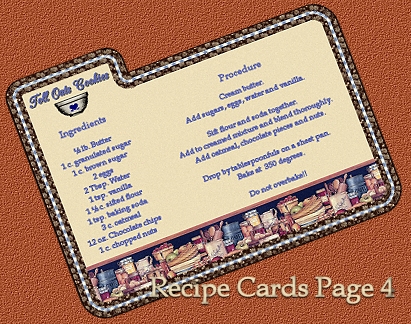
Pick a coordinating color for your text. Place the title of your recipe
in the tabbed portion of your card. I use a new raster layer for each
section of my recipe ("Ingredients", Procedure", etc.) so
that I can line it up and move it around as needed. I also turn my grid
on to line up parts of the recipe text.
("View"..."Grid")
If you like, you may want to add a tube to your card in a new layer as I
have done with the bowl.
When you have your recipe looking like you want, you can either tube it
or export it as a .jpg at a compression of "1."
Printing instructions
I used a 5 x 8 index card and set up my printer this way:
With your recipe card open in PSP, click "File"..."Page Setup"
I chose "Index Card 5 x 8" from the drop down menu....changed my orientation to "Landscape", then you can either check "Fit to Page" or leave "Center on Page" checked.
I still had to cut the card out, but it fits most recipe boxes. Of course, if you use the smaller sized index cards, then chose them from the drop down menu.
See the next few pages for printable-sized wompie recipe cards. Have fun
with these and happy cooking!
Follow wompie!
|