Wompie's Making
Bordered Buttons with PSP Tutorial Page 3
This button is made using the same tut except I used the
rounded rectangle, rotated the tube 90 degrees right, copied the layer and pasted as a new
layer, changed the color of my font to a deeper rose and added a cut-out effect to the
text using Dizzinz's tutorial.
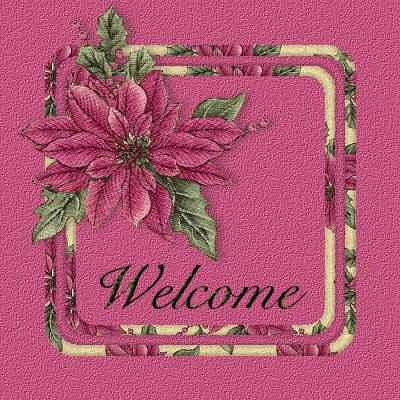
This technique can be modified to create a header graphic. For this welcome banner, I drew
the rounded rectangle shape in increments of ten pixels (changing the line width to 10) in
new layers and added the two different flood fill patterns. The possibilities are endless!
This button is filled with a coordinating plaid. The BladePro preset applied to the text
is volcanic jade.
Website Design © 2000, Kitty Wompuss
Home |