Page 3
Your image should now look something like this:
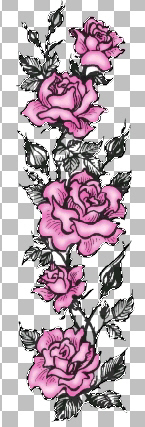
Now, color your leaves using the same technique, making sure to add a new raster
layer for your base, shading and highlights. Use the paint brush for the base
color (the green to the left of your palette sample) with no gaussian blur, the
airbrush for your shading (middle shade of green) and highlights (right-hand
shade of green) with a gaussian blur in each of the airbrushed layers.
Once you have your stamp colored, you can also save it in layers so if you want
to change the colors later, all you have to do is colorize the layers you want
to colorize. I save mine in layers and also save a copy as a tube.
To make sure you have a clean tube, add a new raster layer, drag it to the
bottom in your layer palette, flood fill that layer with a solid color, then
zoom in and see if there are any stray pixels that need to be erased. Here are
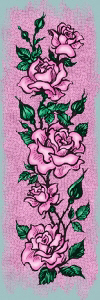
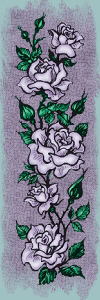
my finished colored stamps, one in pink and one in purple.
Here is a little more complicated colored stamp. My fingers huit. ~L~

Bring it on home to wompie!